
Iron doors are a beautiful addition to any home and can make a huge statement as the first thing guests see when they come through. Plus, with their durability and security, iron doors also provide excellent protection for your home. But before you get too excited about the prospect of installing your own iron door, it’s important to understand the basics of installation. Let’s take a look.
Tools & Supplies Needed
Installing an iron door is not something you want to attempt without the proper tools and supplies. You will need a hammer, drill, drill bits, screws, level, jig saw with metal cutting blade, tape measure, caulking gun and caulk, paintbrush or roller, interior trim kit (optional), weather stripping (optional), and your new iron door.
Removing the Old Door & Preparing the Opening
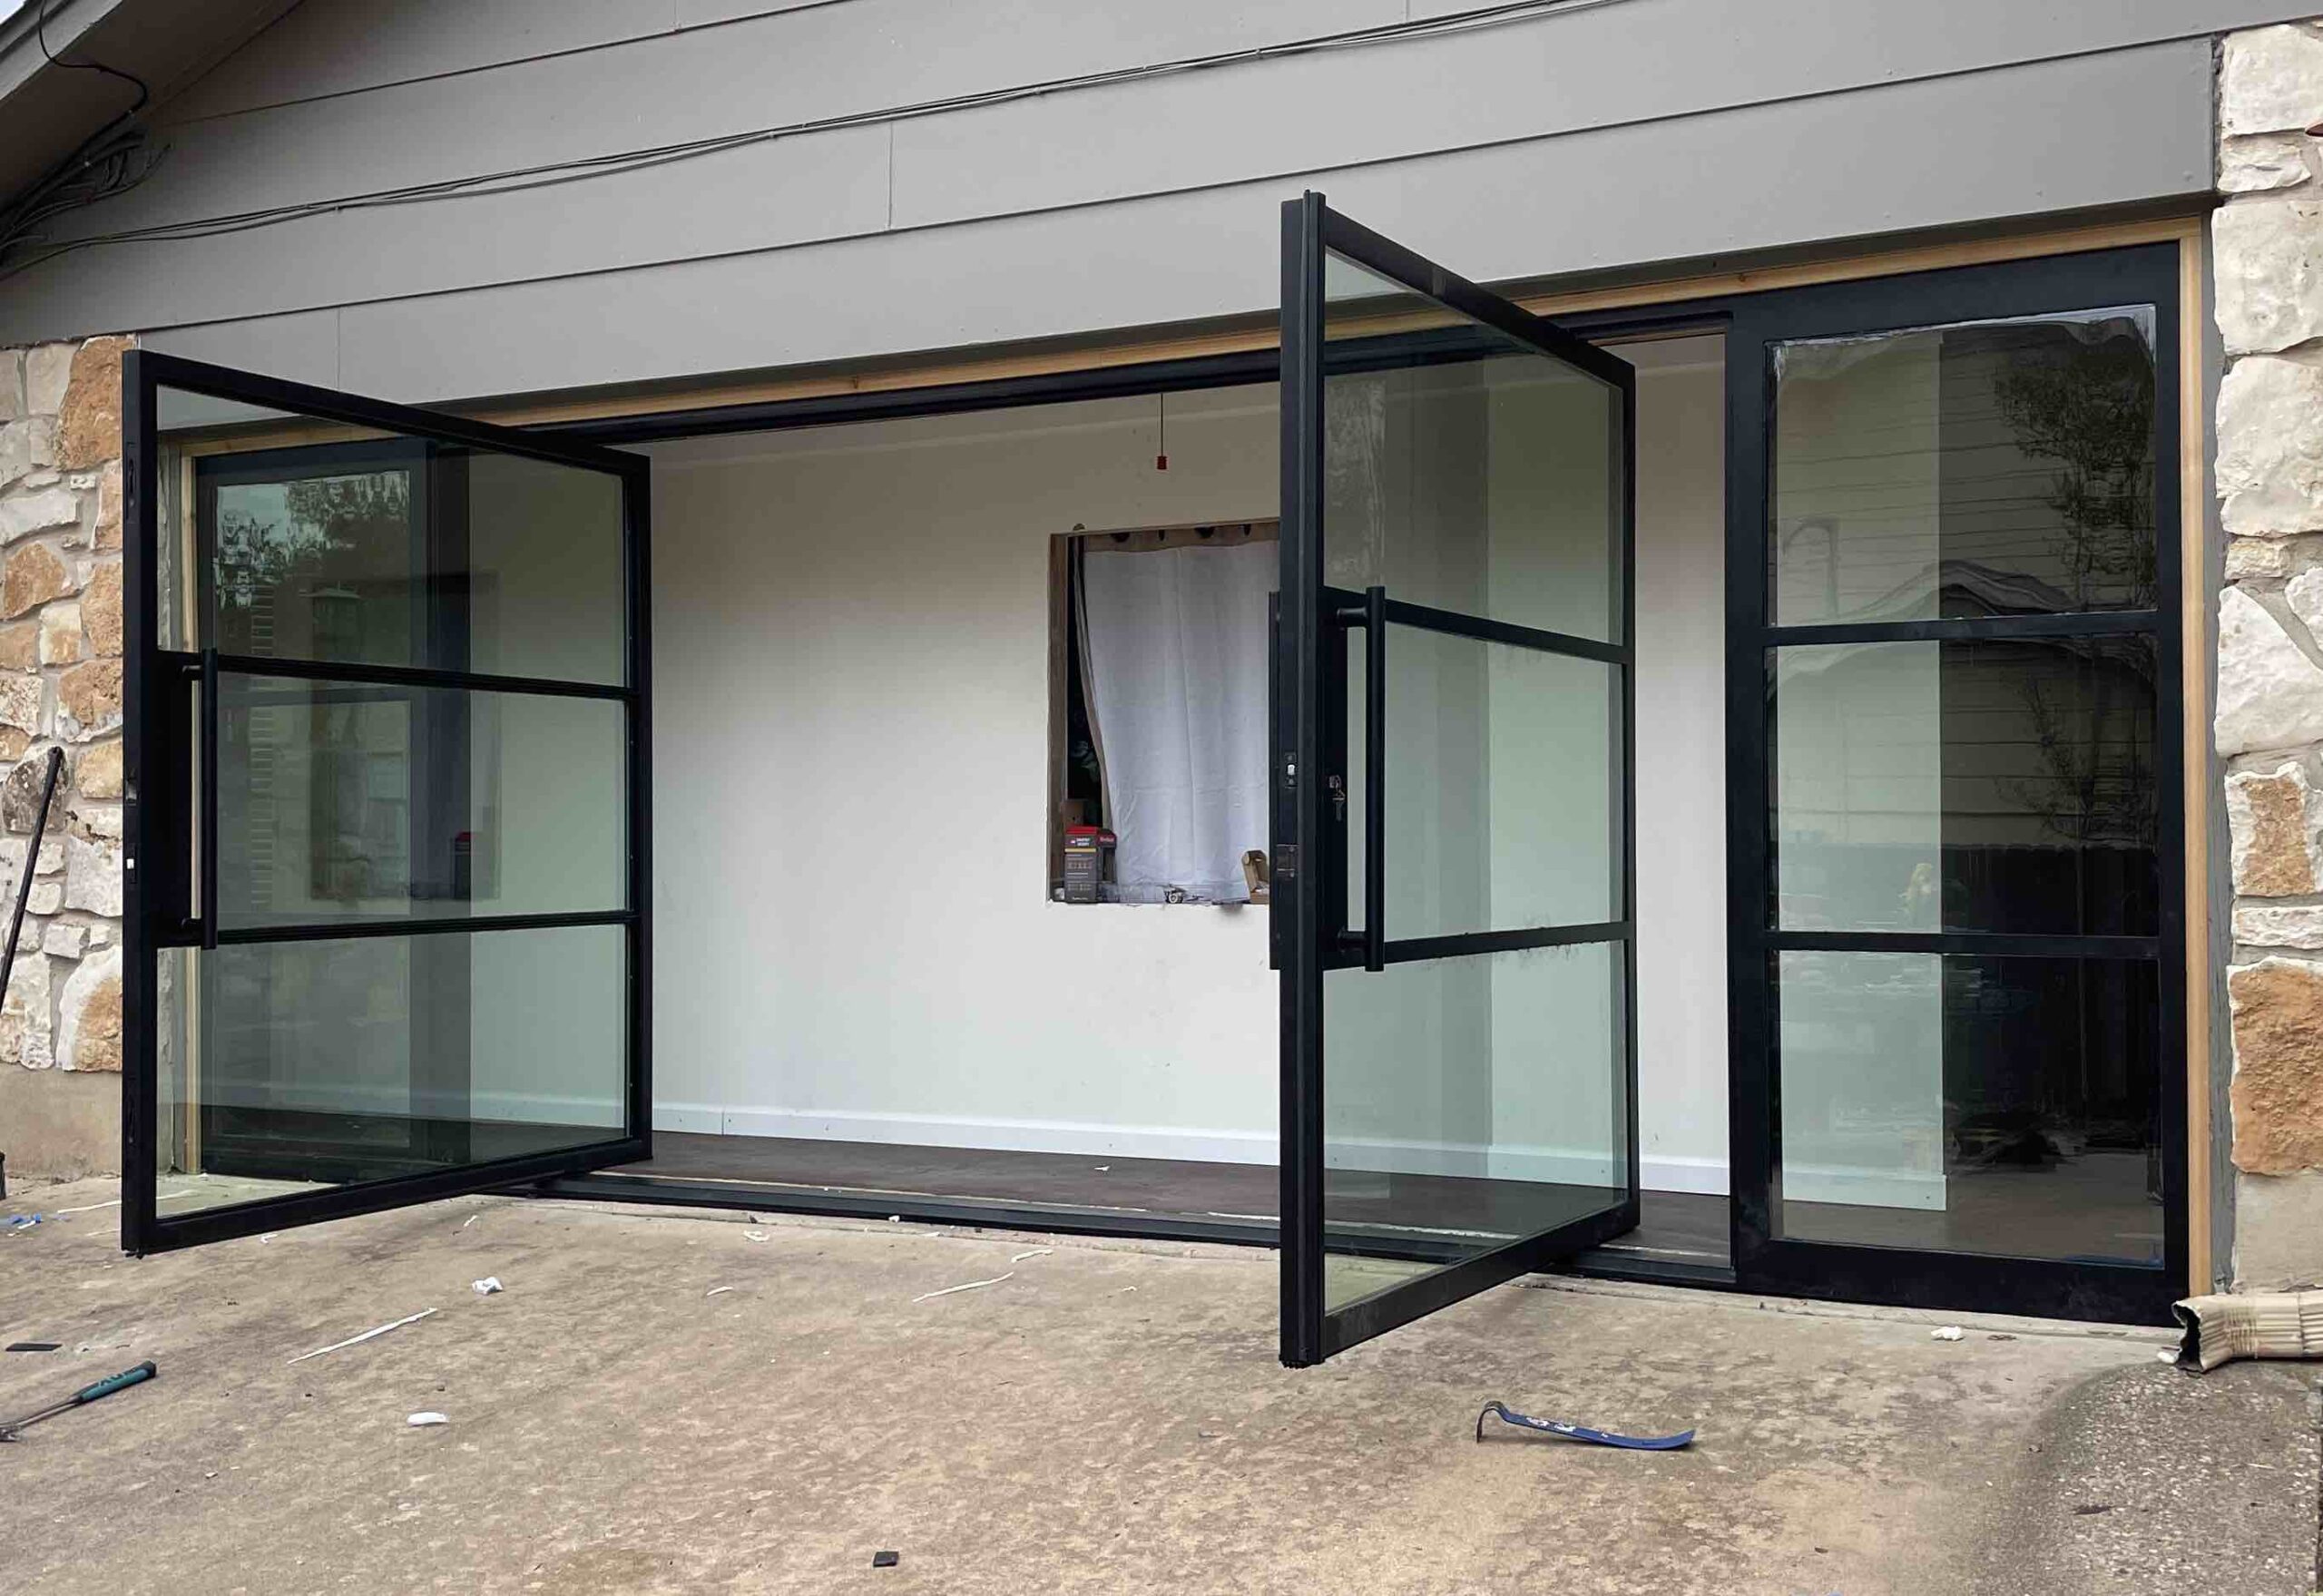
Once you have all of your tools and supplies gathered together it’s time to begin installation by removing the old door. This may require some careful prying in places where it has become stuck in the frame over time due to swelling from moisture changes. After you have completely removed the old door use your jig saw to cut away any excess material so that you have a smooth opening to work with. Then use your level and tape measure to double-check that both sides of the opening are even before moving on to installing the new door.
Installing Your Iron Door
Now that you have all the necessary items ready, it’s time to install your iron door! Here are some tips on how you can get this job done correctly:
• Measure twice and cut once – Before doing anything else, measure both sides of the entrance carefully and write down all measurements on paper or make a note on your smartphone. It’s important that each side is measured accurately otherwise your iron door won’t fit properly into its frame when installed later on.
• Attach hinges – Attach four hinges onto each side of the entrance frame using a drill with screws as mentioned before. Make sure they’re evenly spaced out so they don’t cause any unnecessary pressure when closing or opening your door later on.
• Secure doorknob – Secure a doorknob onto either side of the entrance frame once again with a drill and screws as mentioned before. Remember to double-check that everything is secure before moving onto step four below!
Adding Weather Stripping & Trim Kits (Optional)
If desired you can add additional protection against outside elements by adding weather stripping around all sides of your new iron door frame as well as an interior trim kit if desired for a more polished look inside your home. Once everything has been installed securely use caulk along all edges for added protection against drafty air or water infiltration from rain or snow. Finally use paint or another finish of choice on both sides of your new door frame as desired for a final polished look that suits your style preferences best!
Installing an iron door is not something to be taken lightly but with careful preparation beforehand it can be done with relative ease! Make sure that you gather all necessary tools and supplies before attempting this project on your own; enlisting help from friends or family if needed is always recommended for larger projects like this one! With proper planning and careful execution you’ll soon be enjoying the beauty and safety benefits that come along with having an iron entryway into your home!